Maco V 5/8 Antenna Review
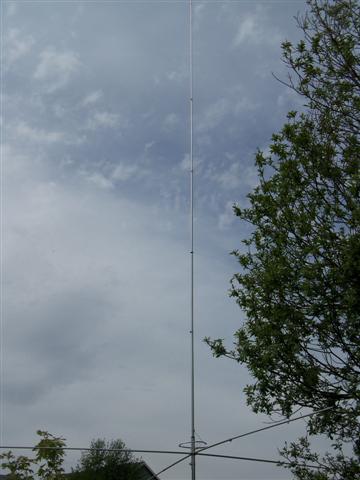
Choosing a base station antenna isn’t easy. You have multiple styles to choose from (beam, omni-directional, wire) and materials (fiberglass, aluminum) as well as mounting possibilities (mast, tower, tripod, roof). Generally speaking the most popular base antennas in the CB world are the vertical omni-directional antennas. They rank # 1 because they are easy to install, they don’t usually take up as much room as larger beam (yagi) style antennas, and they are inexpensive.
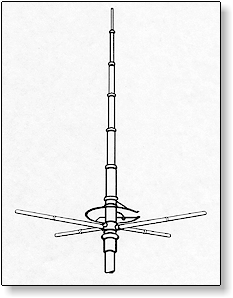
The Maco V 5/8 is an omni-directional vertical ground plane antenna made of aircraft alloy 6063-T5 aluminum tubing with .050″ wall thickness. The antennas are manufactured here in the USA. The ground plane style of vertical antennas utilize radials that extend out from the base of the assembly to help lower the angle of radiation. These types of antennas have proven very effective for talking both locally and long distances.
There is a large amount of discussion online about the benefits of ground plane radials versus antennas that don’t use them, such as the Solarcon Imax 2000 or use other configurations like the Sirio Vector 4000. These comparisons are quite subjective and involve a lot of antenna theory so for this review we’ve decided to focus on the install, tuning, specifications, and general performance of this antenna without getting involved in the heated debate over which antenna is best.
THE BOX
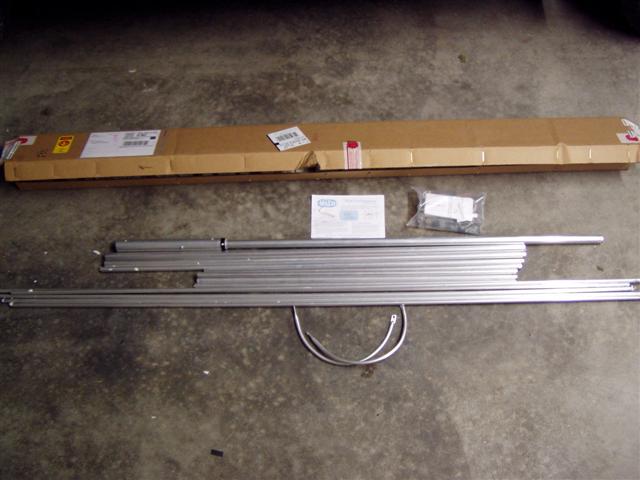
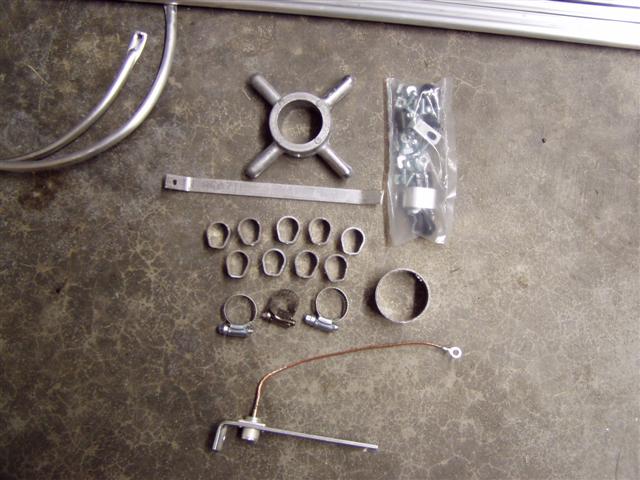
The Maco V 5/8 antenna will come packaged in a 74.5” long cardboard box along with some packing peanuts. The antenna is completely disassembled when you receive it so be prepared to set aside some time for assembly and tuning.
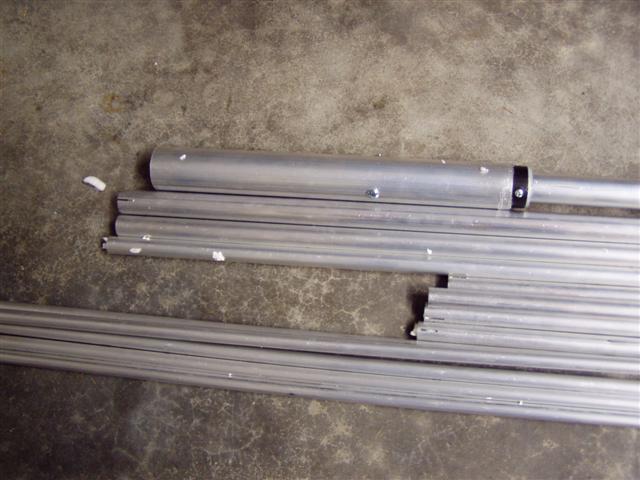
As you can see in the pictures the antenna consists of multiple sections of aluminum tubing of various diameters that slide into each other and are held in place with the included hardware.
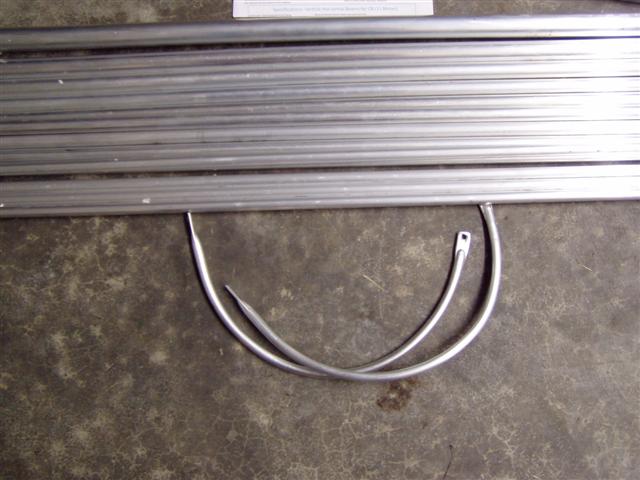
You’ll also notice two “C” shaped pieces which when assembled will become a special tuning ring section at the base of the antenna. The new base antenna owner may be a little intimidated by all the parts and having to assemble the antenna themselves, but there’s no need for concern as the parts go together very simply and most of the process is very straightforward.
ASSEMBLY
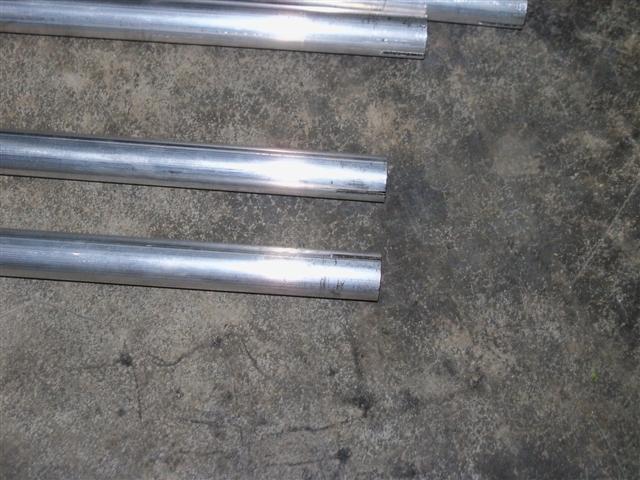
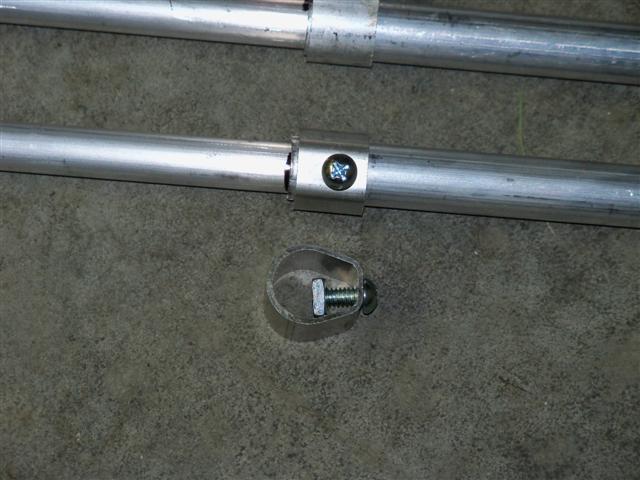
Some of the tubing pieces for the Maco V 5/8 have special slits cut into the ends. For assembly you slide the smaller pieces of tubing into these pieces and use your hardware connector pieces to tighten around the slitted sections. As you tighten the connector pieces (ring, with screw, nut) they compress the slitted sections of the tubing and tighten down, completing the connection between the two pieces of aluminum.
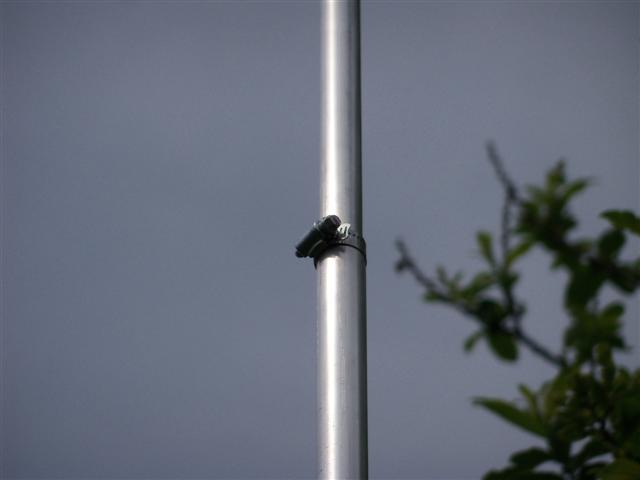
Some of the sections use hose clamps to secure two pieces of tubing together and these are used mostly in the vertical sections.
Once you’ve completed sliding most of your tubing pieces together you’re ready to tackle the ring system. The two “C” pieces are attached together with screws at two locations on the antenna to create a slight corkscrew effect.
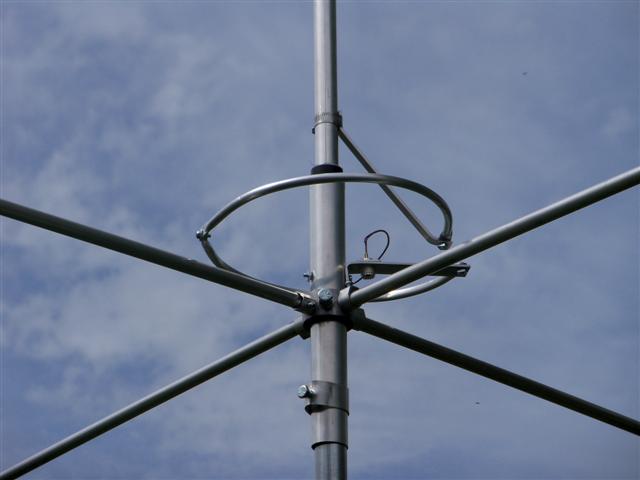
As you can see from the picture the top part of the ring is attached to a metal bar that angles down at about a 45 degree angle and is attached to the antenna with a clamp. The bottom section screws onto the coax connector bracket, which is an L shaped piece of metal that is bolted directly to the antenna. Installing this part of the antenna is probably the most difficult part as it require more specific measurement and adjustment. These pieces are smaller and so use care not to bend or break the aluminum.
The final step in this assembly is attaching the wire from the center of the coax connector to the ring using a small P clamp.
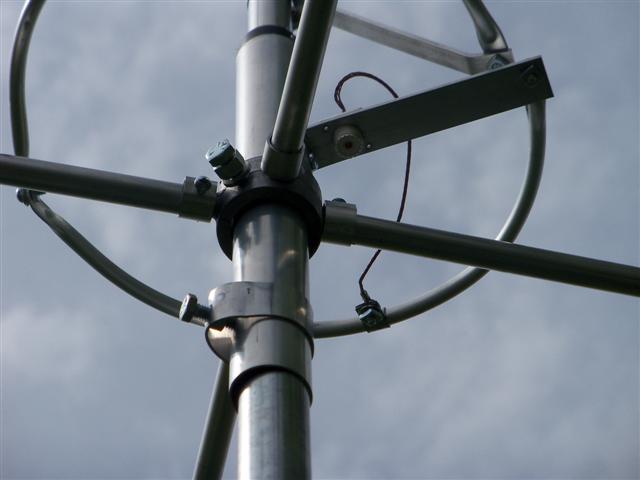
The ground plane radials for this antenna are attached to a ring that has four protrusions which they slide on to. This ring is connected to the main base section of the antenna with a bolt.
Once your antenna is assembled it can be mounted directly onto your mast section. The mast will slide into the bottom tubing of the antenna and is secured with a metal ring/bolt.
Fully assembled, the antenna and setup for 27 MHZ the antenna should be 248″ (20.5 feet) in height. You will need a good large section of space when assembling to ensure you don’t accidentally bend any of the radials or damage the antenna.
INSTALL AND TUNING
Now that the antenna is assembled you’ll need to tune the antenna for the best SWR for the frequencies you intend to talk on (the antenna can be setup for 10 meters, but we’ll focus on 11 meter tuning here). For tuning, the antenna ideally should be at its operating height but for most people it’s not reasonable to try to tune an antenna or make changes while it mounted 40 feet in the air on your tower or mast, so you’ll want to do most of the tuning before installation.
This poses a bit of a problem as you need to get the antenna in the air somewhat otherwise your tuning readings won’t be accurate. To overcome this issue I usually pull out two pieces of fence tubing I keep around. Both sections are 6 feet long and they are top rails that fit together. I have another piece of 6 foot plumbing pipe that I’ve pounded into the ground about 3’ and I slide the 6’ top rail fence tubing over this. I then attach the antenna to the other 6 foot section and connect the two sections together. The end result is a 12 foot mast which is high enough for testing/tuning and if I need to make changes I can easily drop the top section down and adjust the antenna and then put it back up again.
Adjusting the SWR on this antenna can be accomplished in two ways. You can adjust the physical length of the antenna by sliding the tubing that goes into the bottom section up or down. The other method is to adjust the location where the center conductor wire attaches to the ring. For my antenna I found that I only needed minor adjustments for SWR and the most noticeable changes in tuning were done by changing the location of the conductor wire on the ring.
After about 1 hour of assembly and 10 minutes of tuning I had finished up with SWR readings of 1.3 on channel 1, 1.1 on channel 20 and 1.15 on channel 40 (these readings are at the 12’ height prior to install). I did notice that this particular antenna once assembled and tuned for 11 meters isn’t super broad banded, so if you set the length for 11 meters and plan to talk on 10 meters an antenna tuner might be recommended.
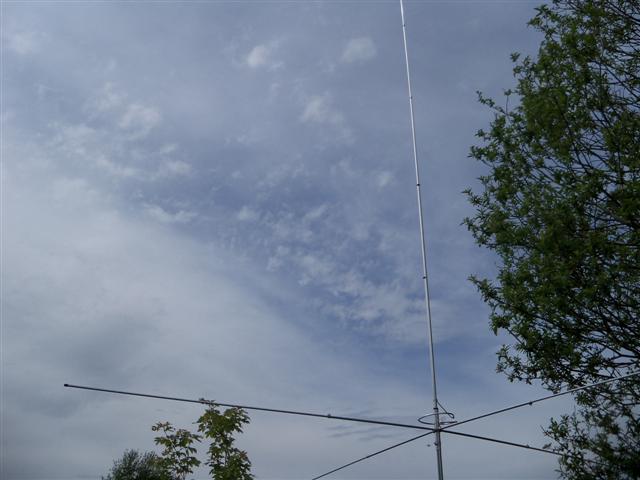
I did one last check and tightened all my fittings, connected my Davis RF Bury Flex coax and mounted the antenna on some temporary masting in the back yard. Height to the bottom of the antenna was around 30’ and with the 20′ length of the antenna the tip was around 50′.
PERFORMANCE
I installed the antenna over the weekend, but I didn’t have any DX to listen to and I couldn’t raise the locals so all we had for the first two days to listen to was static. This actually presented an interesting scenario as many people have made comments on forums that after installing an aluminum antenna and comparing it to a previous fiberglass antenna that the Maco’s tend to have a lower noise level.
I have my other two antennas (Imax 2000 and homemade ¼ ground plane) on an antenna switch so I added the Maco V 5/8 to the three way switch to compare the static noise. For the most part all three antennas were very similar in terms of static noise, but I did find that on certain channels where I had a higher static level due to electrical hum in the background that the Maco didn’t seem to hear this electrical noise as much as the other two antennas, making it quieter on those channels.
I suspect that because I live in a farming community with very little electrical noise and basically no above ground power lines that I won’t see as much of a difference as someone who lives in a larger city with more electrical interference. Based on my simple test and the many comments I’ve seen online I would tend to believe the claims that this antenna may offer a small reduction in electrical noise over fiberglass antennas like the A99 or Imax 2000 in places where that type of noise is more prevalent.
Later in the week I was able to talk to my local test station in the area and did some AM and SSB tests. The Maco V 5/8 performed very well putting a 3-5 S unit signal on SSB to the station 35 miles away. The transmitted signal was strong enough that the receiving station was even able to hear me when he switched from his vertical antenna to his beam antenna. He told me that usually when stations in my town try to talk to him using a vertical and he is on the beam he can’t hear them at all, so he was impressed with the performance of the antenna.
Next I got a chance to talk some DX with the Maco V 5/8, and while DX conditions aren’t the best measure of an antenna since the level of skip can vary from day to day, I was able to see how well I was able to make contacts in different areas of the country and how well my station was able to compete with all the other stations trying to make contacts.
The results were excellent. One minute I was able to contact Tennessee and South Carolina, the next I made a contact into South Dakota and minutes later I was talking into California. I had no problems getting stations to respond and I had many reports that my station signal was strong.
For receive comparisons I decided to test the Imax 2000 and Maco V 5/8 and see if there was any discernable difference in signal strength on receive. I did some tests for local stations and DX stations and after days of testing I came to the conclusion that at the same heights, using the same coax, testing with the same stations, the Maco regularly had a 0.25 S unit higher receive reading than the Imax 2000. Now since every antenna install is different and so many factors are at play this result could differ for someone else doing the same test, but I think generally speaking most people will find the Maco will very slightly outperform the Imax 2000 for receive by around ¼ S unit.
While there is no standard for S units the generally accepted principle is that an S unit is equal to around 6db. Which would give the Maco a 1.5 db gain advantage over the Imax 2000 for receive in my testing.
Beyond the on-air performance I found the physical construction of the antenna impressive and almost immediately after installing it we experienced 50 mph gusts during a storm. The antenna handled the wind without difficulty and it seemed like the construction of the antenna would be adequate to survive most storms people will encounter.
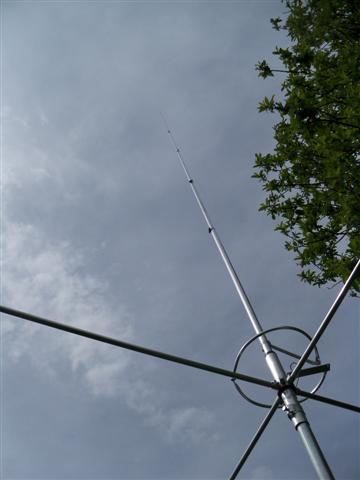
The one weak point in the antenna might be the ring tuning section. While it is built out of aluminum and handled the wind without any problems, a stray falling branch or limb could damage the thinner pieces of the ring section much easier than other parts of the antenna. While the chances of this happening are probably very slim, it’s just something to note.
SUMMARY
The Maco V 5/8 Ground Plane antenna is a well built aluminum antenna that offers very good performance characteristics. It’s advertised online anywhere from $99 to $129, which is very reasonable for a 20’ aluminum antenna (the other day I tried to buy a 6’ piece of aluminum at my hardware store for an antenna project and they wanted $29 for the single length).
While the debate of which CB vertical antenna is best will continue for years to come we do know that ground plane antennas work very well and lower the angle of radiation to prevent the loss of signal skyward.
Now there is some competition in the ground plane market and antennas like the interceptor I10K have proven themselves as great performers, but they also are much more expensive ($339 + shipping). For most people the Maco V 5/8 antenna is going to offer more bang for your buck, while antennas such as the I10K generally appeal to the more serious CB’ers or people needing an antenna to handle 100 MPH winds and 10,000 watts of output (the Maco V 5/8 is rated up to 1,200 watts – for those needing higher power capacity in the Maco line there is the Maco V 5000 rated to 5,000 watts and priced online around $149.95).
One downside to aluminum antennas such as the Maco V 5/8 is the assembly. It does take at least an hour for most people to put the antennas together, and initially getting the antenna into position for testing can be a bit tricky without damaging the long ground plane radials. Some radio operators may find a non-ground plane antenna easier to assemble and mount, but with 1,000’s of these antennas sold and being using I think most people have no issues putting them together.
After testing out two different Maco antennas in the last couple of months I can say that the Maco brand of antennas came well packaged, used solid materials, and the instructions were well written and explained each step in assembly.
In contacting Maco I found their staff to be easy to reach by phone or email and very helpful in answering my questions. In this day and age where many CB products are made by companies overseas and distributed multiple times before reaching the market I find it refreshing to be able to call a company and within minutes be talking to the owner about antenna designs.
The Maco V 5/8 has been a very popular CB antenna and it’s likely someone in your area is already using one. If you’re putting up your first base antenna, or you’ve decided to upgrade from a shorter antenna such as the A99, you won’t be disappointed with the Maco V 5/8.
| The MACO V58
Alpha V 5/8 – A highly efficient 5/8 wave commercial antenna. It offers outstanding base station performance. Field tunable to over from 26-33 Mhz in 1 of 9 settings. |
 |

